Many variables exist throughout the mold design and injection molding process that have implications on part quality. Therefore, it’s important to know the potential injection molding defects and how to prevent them, or process them out. Here we’ve curated a list of the most common molding defects and how to avoid or resolve them. You can use the quick links below to jump to a specific defect of interest.
Let Basilius Solve Your Inject Molded Part Defects. Request a quote today to get started.
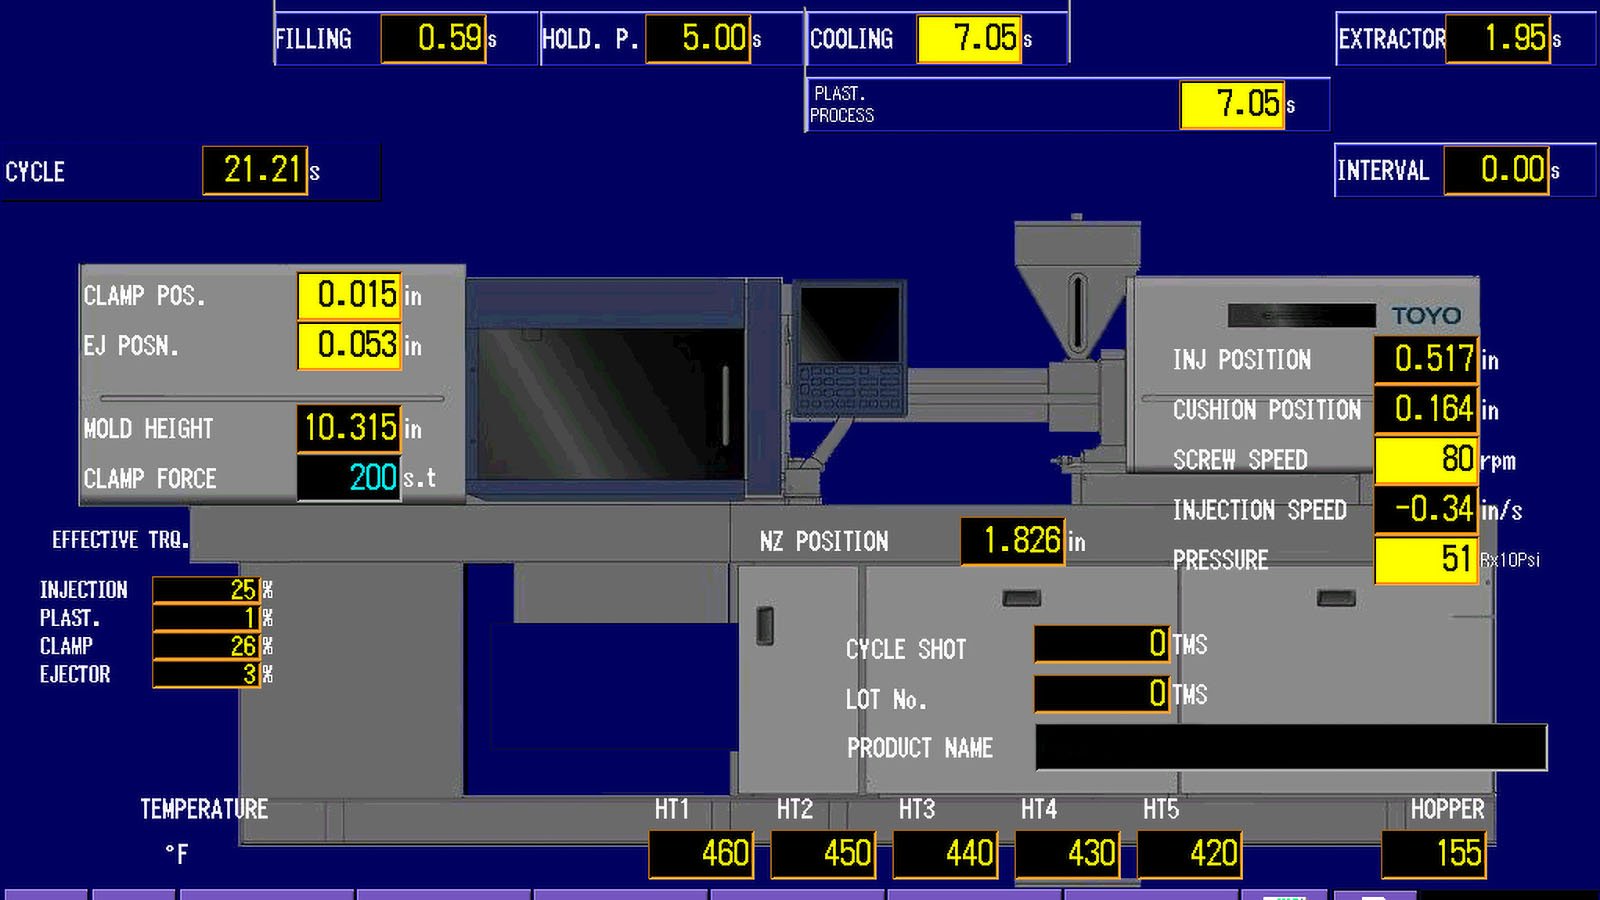
Assumptions
When assessing issues with injection molded parts, it is critical to check some core injection molding aspects. The list below acts as a checklist during both normal injection molding operations and when detecting defects. Items on this list such as Material Contamination can cause several molding issues. Therefore, it’s important to check these things before digging deeper into the potential issues or changing machine settings.
- Material is free from contamination
- Material has been properly dried
- Material handling equipment is functioning correctly and has been properly cleaned
- Processing parameters including drying time, drying temperature, and regrind limits are within specification for the selected material
- The proper material has been selected for the application
- The molding machine is functioning properly and has been properly maintained.
- Auxiliary equipment such as temperature controllers and dryers are functioning correctly
- Mold surfaces are cleaned
- Mold water channels are clean and flowing properly
- Previous processing parameters have been recorded and checked
Brown / Black Marks
Brown or black marks are injection molding defects that is exactly what it sounds like. You will notice discolored marks or streaks on the surface of your molded part. Typically, overheating is the cause and one of the following options will fix it.
CAUSE – REMEDIES
- Material from previous runs are stuck in the barrel/screw assembly, nozzle, or hot runner system. Degrading material can also be caused be high resonance time in the barrel.
- Purge the barrel and hot runner system
- If possible increase cycle time to reduce material resonance time. Running the mold in molding machine with less barrel capacity is also possible
- Remove and inspect the check ring
- Remove the barrel assembly and thoroughly check for damage or ware
- Melt temperature of the plastic is too high
- Lower the rear zone temperatures
- Material is being injected too fast causing excessive shear heating
- Screw RPM is too high
- Gates are too small
- Check for uniform wall thickness to avoid high shear areas
- Make varying wall thicknesses uniform
Burning
Yellow / black burn marks at the end of fill on a molded part. Burning is most likely cause by air traps in the mold. As plastic fills the mold, the air needs to escape. When air gets trapped, it will compress and overheat the plastic.
CAUSES – REMEDIES
- Injection Speed too High
- Material is too hot
- Reduce melt temperature
- Excessive clamping force
- Reduce clamping force if possible
- Not enough venting in the mold
- Check for restricted venting and air traps
- Dirty Vents
- Clean the mold surfaces, parting lines, and vent pins
Cracking
Cracking is a form of failure that typically occurs on ejection or during handling. One of the following usually causes a weakness in the part that leads to visible cracking upon inspection.
CAUSES – REMEDIES
- Injection speed is too slow
- Degraded material
- Adjust cylinder temperatures
- Reduce back pressure
- Melt temperature is too low
- Increase rear zone temperature
- Increase nozzle temperature
- Mold surface is too cold
- Increase the mold temperature
- Gate size or runners are too small
- Excessive regrind present
Flashing
Flashing in injection molding refers to the excess material that escapes the mold cavity and forms a thin, unwanted protrusion along the parting line or other shut off areas. This defect typically occurs when the mold plates do not close properly, allowing molten plastic to seep out and create a thin, undesirable extension. Flashing can compromise the overall quality of the molded product and may require post-production trimming or additional measures to rectify the issue.
CAUSES – REMEDIES
- Injection pressure too high
- Slow down the injection speed
- Raise the volume-pressure switch over point
- reduce shot size
- Material is too hot
- Reduce the melt temperature
- Low or uneven clamp force
- Make sure sufficient clamp force is available
- Make sure mold is clamping squarely and fully
- Make sure tooling assemblies/actions have proper support to resist material pressure
- Clogged or small venting
- Check that venting is sufficient
Flow Lines
Flow lines appear as visible patterns, streaks, or ripples on the surface of a molded plastic part. These lines are usually more apparent around the gate or the end of fill on the parts. Flow lines are often caused by uneven cooling or inconsistent flow of molten plastic during the injection process. Check the list below for the most common causes and remedies.
CAUSES – REMEDIES
- Slow injection speed
- Increase the injection speed
- Low melt temperature
- Increase the temperature in the front two zones of the barrel
- Runner and gates are too small
- Increase the size of the runners and gates
- Surface temperature of the mold is too low
- Increase the mold temperature
Jetting
Jetting typically appears as a swirled line coming from the gate of the part. It often occurs when molten plastic is forced through the mold at a high velocity. Inadequate mold or gate design often causes these injection molding defects, resulting in poor plastic flow.
CAUSES – REMEDIES
- Mold surface temperature too low
- Increase the mold temperature
- Gate size too small
- Increase gate size
Short Shot
A short shot is simply an incomplete filling of the mold cavity. Your part will lack full material coverage or exhibits voids. This defect occurs when insufficient molten plastic is injected into the mold. Often due to factors such as inadequate injection pressure, insufficient melt temperature, or improper gating. Correcting short shots can typically be done with the following.
CAUSES- REMEDIES
- Injection speed to slow
- Increase injection speed
- Shot size too small
- Increase shot size if screw position continuously goes to 0
- Non return valve/check ring damaged or worn
- Check for wear or damage if consistent cushion cannot be accomplished
- Inadequate mold venting
- Air traps causing material flow to stop. Check for proper venting
- Long flow length / thin wall sections
- Check for consistent wall thickness and make sure gate location is optimized for material flow.
Sink Marks
Sink marks refer to depressions or voids on the surface of a molded part. Usually located around thick wall sections. As the plastic cools and solidifies, areas with thicker sections cool more slowly. This can lead to material contraction and the formation of sink marks. The following will help in minimizing sink marks and ensuring a more uniform cooling process.
CAUSES – REMEDIES
- Inadequate shot volume
- Make sure cushion is consistent
- Inadequate injection pressure
- Increase injection pressure to flow more material into the mold
- Inadequate hold time
- Add more hold time to allow part to fill out
- High melt temperature
- Lower the melt temperature
- Too small of a gate
- Gate size should allow for proper filling of the part without freezing off
- Gate position not optimized
- Gate should feed into larger areas of the part to ensure they fill
Voids / Vacuum Voids
Voids are injection molding defects where there is a presence of empty spaces or air bubbles within a molded part. Unfortunately, you may not notice voids on colored parts. resulting from inadequate filling of the mold cavity or the entrapment of air during the injection process. Adjusting the following parameters can ensure complete filling of the mold cavity without entrapping air pockets.
CAUSES – REMEDIES
- Air traps in the melt / barrel
- Increase back pressure
- Reduce screw RPM
- Reduce decompression
- Inadequate packing pressure
- Increase injection pressure
- High fill speed
- Slow down the injection speed
Warping
Warping is a defect characterized by the deformation or distortion of a molded part from its intended shape. There are varying levels of warping that can be seen once a part is ejected from the mold. This defect typically arises during the cooling phase of the molding process caused by differential shrinkage.
CAUSES – REMEDIES
- Cycle time too short
- Increase the cooling time to allow the part to be cooled more thoroughly by the mold
- Insufficient shot size
- Increase the shot size
- Melt temperature too low
- Increase the melt temperature
- Insufficient mold cooling
- Check for proper cooling flow through the mold
- Increase the amount of cooling in the mold
- Feed systems to small or misplaced
- Gates should feed into thicker wall sections of the part and allow for enough material to flow and cool
- Runner system should be able to feed enough material into the cavities without excessive pressure or freezing
Weld / Knit Lines
Locations where material is “reconnected” during the injection molding process. This is inevitable with holes in plastic parts and multiple gate situations. These can be failure points on the molded parts if not remedied properly.
CAUSES – REMEDIES
- Low melt temperature
- Flow speed too fast or too slow
- Mold surface is too cold
- Increase the mold temperature
- Mold is not vented properly causing slow flow at knit lines
- Add or increase vents as needed
Surface Delamination
Surface delamination appears as the separation or peeling of thin layers from the parts surface. This defect occurs when there are issues with material bonding and it can often peel off. Certain release agents increase the risk of delamination and thus you should reduce your reliance on these agents.
CAUSES – REMEDIES
- Low melt temperature
- Flow speed too fast or too slow
- Molding material is contaminated
Preventing Injection Molding Defects with Basilius
As you have read there are a number of variables that impact the injection molding process and mold design. These variables have the potential to cause defects in injection molded parts.
At Basilius, our team has experience with identifying injection molding defects, preventing defects, and processing defects out. When you choose Basilius for your injection molded parts you can expect quality, consistency, and accountability throughout the process. Our process focuses on what makes your part unique and helps us create a high quality part that stands the tests of time.
Contact us or request a quote to start your Injection Molding project today.